[Download] Camera Resolution Mod for 3ds Max
![[Download] Camera Resolution Mod for 3ds Max](https://3dmaxfarsi.com/wp-content/uploads/2026/07/camera-resolution-mod-3ds-max-free-download.webp "[Download] Camera Resolution Mod for 3ds Max 1")
🎬 Master Your Cameras: The Ultimate Guide to Camera Resolution Mod for 3ds Max
Hey there, fellow 3ds Max artist! 👋 Have you ever been in that frustrating situation where you’ve got a scene with multiple cameras, each needing a completely different render size? You know the drill—one landscape shot needs a wide 16:9 ratio, while another close-up demands a vertical 9:16 for social media. The default render settings just don’t cut it.
But here’s the thing: there’s a simple, brilliant solution that’s been hiding in plain sight. Let me introduce you to the Camera Resolution Mod—a modifier so useful, you’ll wonder how you ever lived without it .
Camera Resolution Mod for 3ds Max
This content is restricted to paid subscribers
🚀 Getting Started: Installation & Setup
Setting this up is about as easy as it gets:
-
Download: Grab the script from the developer’s site.
-
Install: Pop the
CameraResolutionMod.msefile into your 3ds Maxstdplugs\stdscriptsfolder . (Restart Max if it was open). -
Apply: Select a camera in your scene, go to the Modify panel, and choose Camera Resolution Mod from the modifier dropdown . That’s it! The modifier is now live on that camera.
🤔 Why Do You Even Need This Mod?
Imagine this: You’re working on an architectural visualization. You’ve got a beautiful 4K horizontal render for your main brochure, but the client also needs a vertical crop for Instagram Reels. Without this mod, you’d be diving back into the Render Setup dialog every single time you switch cameras, manually punching in new numbers . It’s a total workflow killer.
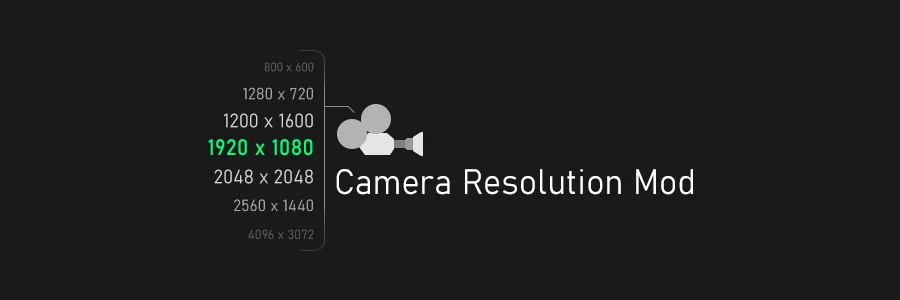
Camera Resolution Mod is a modifier for 3ds Max that allows you to set the render resolution for each camera individually . This means your “Camera_Wide” can stay at 3840×2160, while your “Camera_Portrait” stays at 1080×1920. The modifier handles the rest. When you select a camera or switch to its viewport, the render settings update automatically .
🛠️ What’s Under the Hood? Breaking Down the Parameters
Let’s get our hands dirty. The modifier panel is super clean and straightforward, but it’s packed with features that give you total control.
📐 Resolution Controls
This is where the magic of setting custom sizes happens .
-
Width & Height: Set your render dimensions in pixels. The modifier hooks into 3ds Max’s output system, so the changes reflect instantly in your Render Setup window.
-
Aspect Ratio Lock: This little lock icon is a lifesaver. When enabled, changing the Width automatically adjusts the Height (and vice-versa) to keep your aspect ratio perfect. Say goodbye to squished renders!
-
Swap WH: Need to flip a horizontal shot to vertical in one click? This button instantly swaps the width and height values. Perfect for when you want to render a portrait version of a landscape camera setup without retyping anything .
-
/2 & x2: Quick scaling buttons. Hit
x2to double your resolution for a high-quality final pass, or/2to knock it down to a quarter size for a super-fast draft render. It’s a huge time-saver for test renders .
💾 Custom Presets
Do you find yourself using the same resolutions over and over—like 1920×1080, 3840×2160, or 1080×1350 for Instagram?
Instead of remembering the numbers, just save them.
-
Add: Saves your current Width, Height, and lock state as a preset. You can name it something like “4K Wide” or “Vertical Reel” .
-
Update: Made a tweak to a preset? Hit Update to save the new values.
-
Delete: Cleans up presets you no longer use.
-
Apply: Double-click a preset in the list to apply it to your selected camera instantly. This is the fastest way to batch-apply a look.
🔒 Transform Lock
This is a sneaky but brilliant feature. You’ve spent ages perfectly framing a shot. The last thing you want is to accidentally nudge the camera while trying to select something behind it.
The Transform Lock checkbox locks the position, rotation, and scale of the camera (and its target) directly from the modifier . It means you can move other objects around your scene without worrying about ruining your camera’s composition. When you’re done, just uncheck it, or remove the modifier to unlock it instantly .
⏱️ Move Time Slider
Tired of manually dragging the time slider to a specific frame every time you check a camera?
This feature lets you set a default frame for each camera. Imagine you’re animating a walk cycle. Camera 1 is for the start (Frame 0), Camera 2 is for the middle (Frame 30), and Camera 3 is for the end (Frame 60). When you select “Camera 2”, the time slider automatically jumps to Frame 30. It’s a small touch that makes animating and reviewing multi-camera setups feel incredibly smooth.
🧠 Pro Tips for Your Workflow
-
Stay Organized: Name your cameras clearly (e.g.,
CAM_Master_Brochure,CAM_Instagram_Story). It makes life easier when you come back to the scene a week later. -
The ‘Update’ Setting: The modifier has an “Update” mode. If you find your render resolution isn’t changing when you select a camera, check this is set to Always or Active Camera .
-
Combine with Batch Render: While this mod handles the resolution of each camera, you can pair it with 3ds Max’s built-in Batch Render tool. Set up your cameras with their specific resolutions using the mod, then add them to the Batch Render queue . The mod will ensure they render at the correct size automatically, saving you from manually configuring settings in the batch list.
🏁 Wrapping Up
The Camera Resolution Mod is one of those “quality of life” tools that genuinely makes you a more efficient 3D artist. It removes the tedious, repetitive task of adjusting render settings and lets you focus on what matters: creating stunning visuals.
It takes the headache out of managing multiple aspect ratios and gives you peace of mind that your cameras are locked and ready to go. Give it a try, and watch your productivity skyrocket! 🚀